Book Review: Adventures With "Wild Fermentation"
Fermenting food is a great way to learn a new skill, preserve what you have, and enjoy some delicious new flavours.
Note from Josh: brownfox is a dear friend of ours here at Unprepared. When he told the Unprepared Discord that he was working through Sandor Katz’s “Wild Fermentation,” I asked him if he’d be willing to share his experiments with our readers, and he kindly agreed.
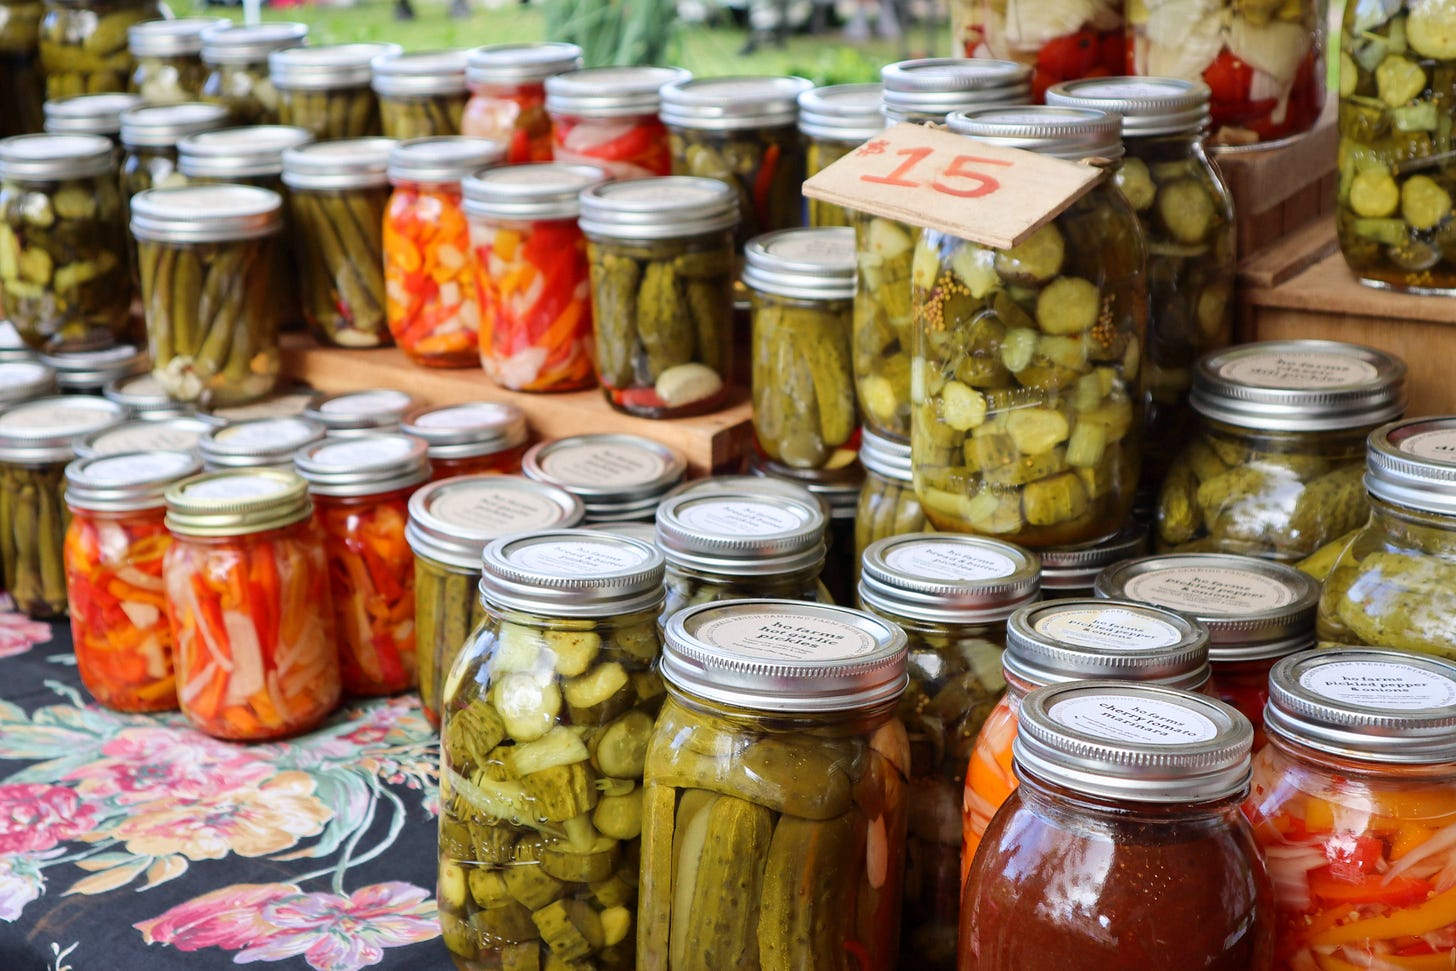
Fermenting food to make something delicious—it’s so easy even a newbie can do it. A few months ago I had never fermented anything. Now I am enjoying all kinds of foods. If I can do it—you can do it too.
Fermentation: Improved Resilience For You And Your Community
Over the past year Josh has written many great articles on building your community and improving the resilience of your Dependency Loops. I was inspired to join a local Community Supported Agriculture (CSA) farm to buy vegetables, and put my money back into the community. Suddenly I had more quality vegetables than I knew what to do with! It was time to learn about the next skill in the loop—fermentation.
Josh has spoken highly of the book Wild Fermentation by Sandor Katz. I borrowed a copy from my library and it is thrilling. But simply reading the book and writing a regular review didn’t seem like enough. The book is all about trying, doing, and making mistakes. To do it justice I had to try making some of the recipes.
I set myself a challenge: Could I make one edible dish from each chapter using the simplest ingredients?
Why Ferment Anything?
It tastes good. From bread to beer to cheese to chutney—if you try just one project you can likely find something appealing.
To save money. Who doesn’t need more money for groceries? Brewing yogurt costs 80% less than buying it from the store.
To save food. Avoid throwing out vegetables because you couldn’t eat them in time—turn them into long-lasting food instead!
For good nutrition. Fermenting helps to break down food and unlock extra nutrients, promoting a healthy gut. Katz even discusses milk products being made easier to digest.
To control ingredients. If you have allergies or dislike added sugar, salt, or other items—fermenting lets you better control what goes into your food.
To learn a new skill. Become more resilient and more resourceful at feeding yourself and others.
To create an engaging hobby. I have found fermenting foods is fun and gives me a bigger degree of control. Instead of sitting around worrying I can do something productive, and make tasty food.
To make gifts to barter or share. I brought homemade mead to a family holiday gathering and it was a hit. Not everything I make is good, but the more I practice the better it gets.
Fermentation Is An Ancient Practice

If you enjoy a modern life with electricity, it’s easy to forget that refrigeration has only been around for about 100 years. Even canning is just over 200 years old. Fermenting foods is a way to connect back to our ancestors and re-discover old skills. There is something immensely humbling and satisfying to think I am making some of the same foods that humans have been making for literally thousands of years.
From Wild Fermentation:
“Humans have been fermenting for longer than we've been writing words, making pottery, or cultivating the soil.
Mead is universal, the ancestor of all fermented drinks. Making it does not require heat, and possibly it has been part of human life for even longer than controlled fire.
Mead-making marks the passage of humanity from nature to culture.”
Sandor Katz is Encouraging And Uplifting

Besides the tasty food - Katz makes a great coach. His book is filled with a "you can do it!", positive attitude that is so refreshing:
“Fermentation is easy and exciting! Anyone can do it, anywhere, with the most basic tools.
It does not require state-of-the-art facilities, expertise, or laboratory conditions.
You do not need to be a scientist or technician.Reject the cult of expertise!
Remember that all fermentation processes predate the technology that makes it more complicated.
You can do it in your kitchen using equipment you already have.”
His recipes are littered with encouraging tips:
… “You too can do it. The force is with you. It will come.
… Experiment! Try adding any other ingredients you desire - dried fruit, ginger, chili peppers, or whatever you can imagine.
… 2 tablespoons - or more!
… 3 cloves garlic - or more!
… Innovate with materials close at hand! Get a few different flavors or styles going at once for variety.
… Our perfection lies in our imperfection”
What About Food Poisoning?
In the past I was scared away by the idea of giving myself food poisoning. What if I do it wrong? Katz addresses this right away:
“We have been taught to fear bacteria, and it is easy to project this fear upon fermentation. … It is widely assumed that fermentation must be dangerous, and must require extensive expertise, thorough sterilization, and exacting controls.
In fact microorganisms are vital in all living systems, and our greatest protection. Fermentation is a strategy for food safety.
Most fermented foods have long histories of use without problems. In the case of fermented vegetables, the US Department of Agriculture has no documented cases of food poisoning or illness.
Botulism risk in canning is real, but there is no case history of botulism associated with fermented vegetables, fruit, grains, or milk. It has only occurred in fermented meats, fish, and tofu. The steps for preventing it are well known, and easy.”
While mold can still be an issue, this can often be avoided by keeping the food submerged.
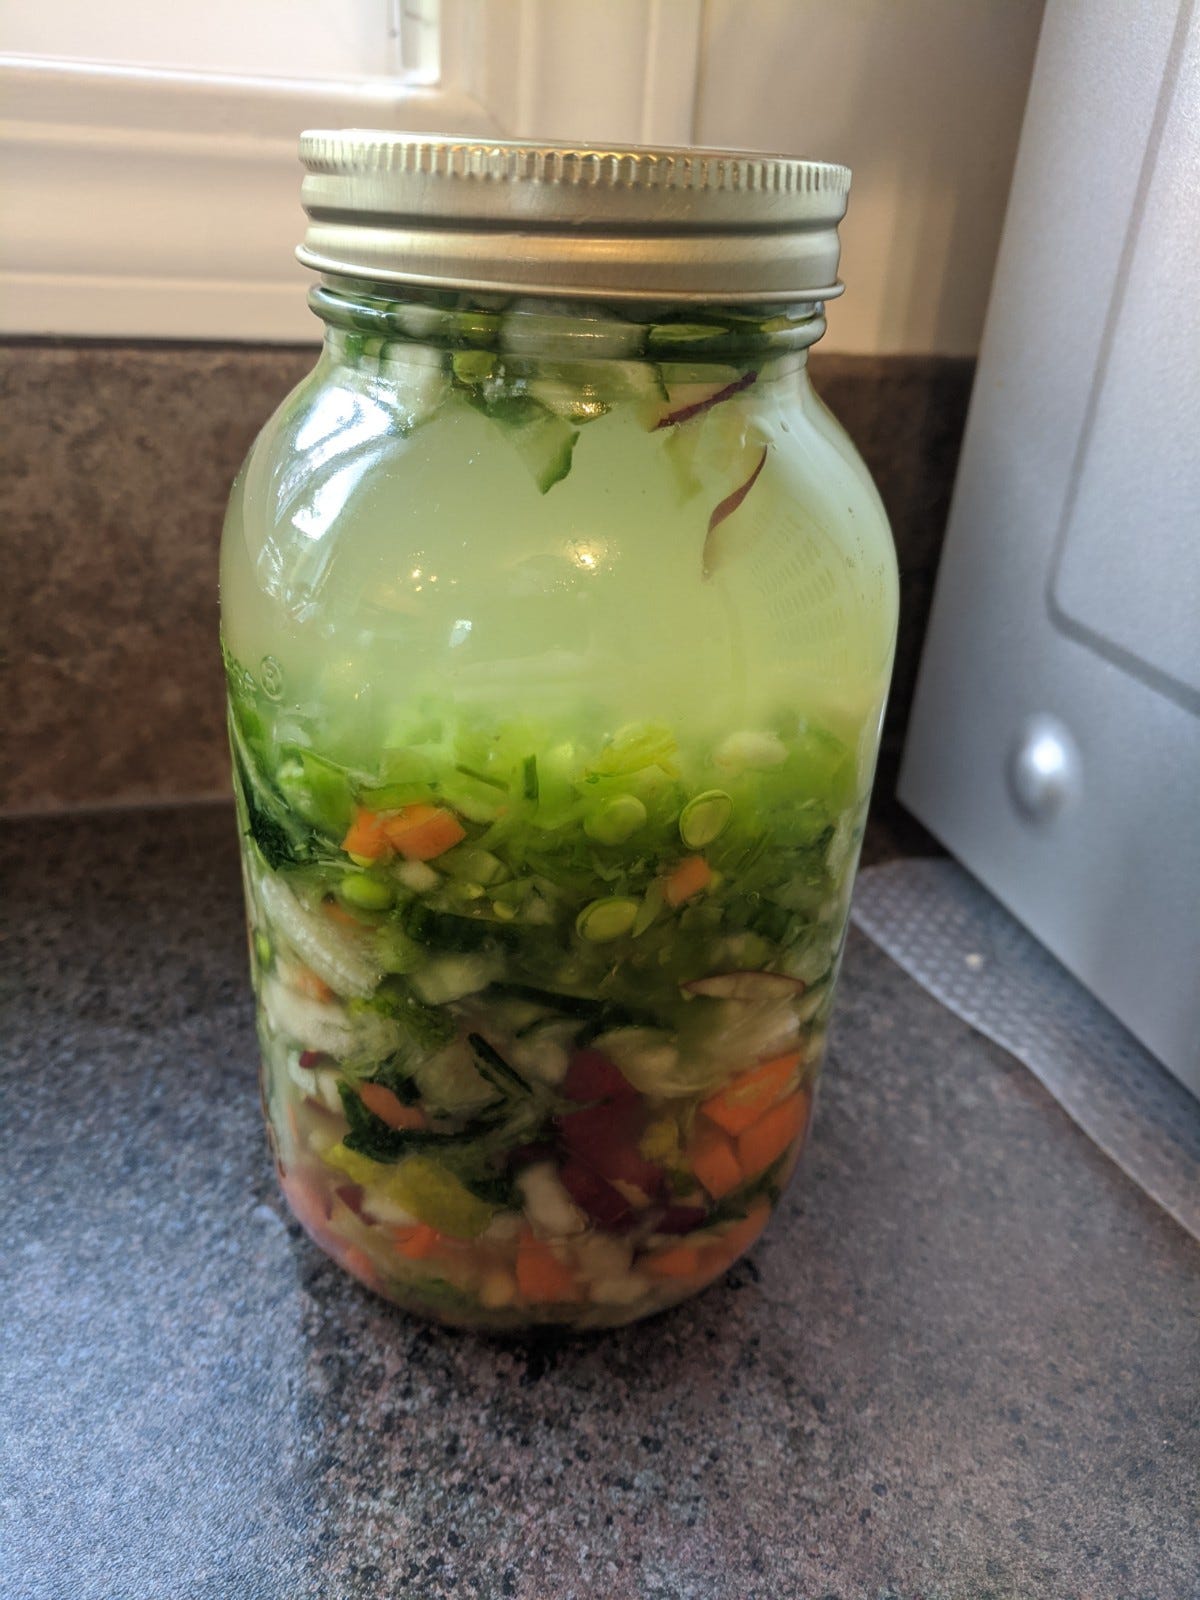
1. Sauerkraut
I wanted to start with a classic: sauerkraut. Luckily it’s easy:
Chop some vegetables. Any kind you like! Traditional sauerkraut is mostly cabbage, but there are many options.
Salt them, usually 1 tablespoon per 2 pounds / 1 kg of veggies. Katz suggests: “Salt lightly and judge by taste”.
Pound, mash, or squeeze the veggies. You want to break down the cell walls and get the juice out.
Pack the salted and squeezed veggies into a jar, until they are covered in brine juice. The key is to keep air out so the good bacteria can work. A strong wooden spoon or clean stick is helpful here.
Wait, and Burp the Jar
After that it’s mainly a matter of waiting. Crack the lid each day for the first few days to let the carbon dioxide out.
After making a few batches and messing around with lids and weights, I finally broke down and bought some $25 self-burping jar lids. They are really helpful.
“Taste after a few days, and at regular intervals, to find what you prefer. Along with the flavour—texture changes over time.”
Sauerkraut Pros:
It’s Easy. Chop, salt, pound, pack.
Preserves food that might have wasted.
Adds healthy gut bacteria and vitamins!
Sauerkraut Cons:
You may not like the taste. My first few batches were certainly… interesting. I need to practice more before I would feed mine to anyone I liked. Hot sauce helps.
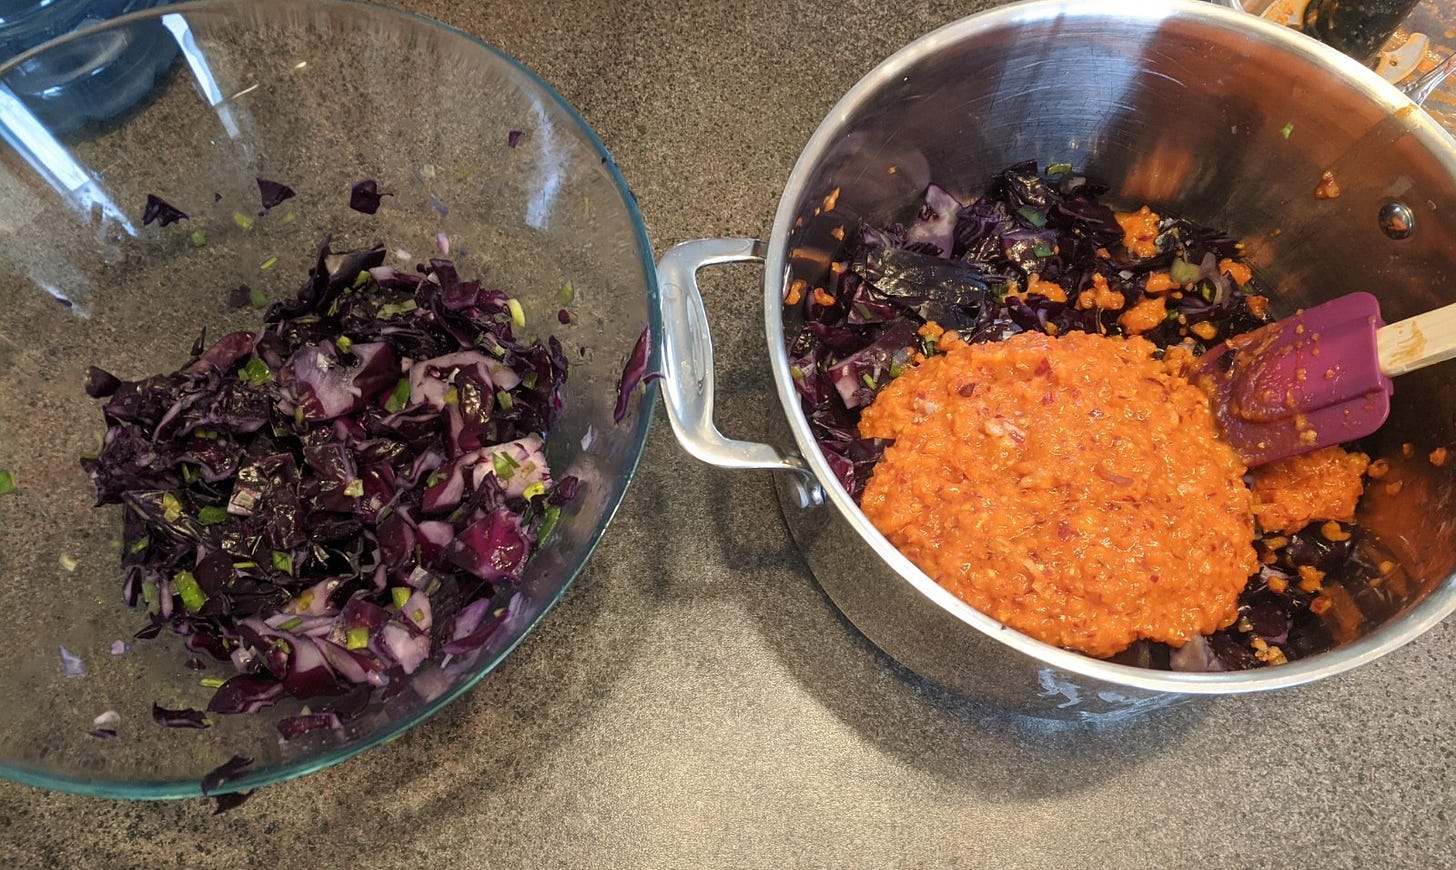
2. Kimchi
Kimchi is made similar to sauerkraut, but you soak the veggies in a brine to pull the water out. I made some rice paste, and used store-bought gochujang sauce.
Kimchi Pros:
Tastes great. I cheated and added some store-bought gochujang sauce, because it’s so good.
Kimchi Cons:
The soaking method takes longer than sauerkraut
I prefer the sauerkraut method of just salting + packing. It takes less time and is easier to do. But I prefer the kimchi flavour. I’m excited to experiment with flavours.
Now that I have made several batches of each I no longer feel bad about only using certain vegetables. Anything can go in!
3. Mead
Mead is a great example of everything I love in a fermentation project: simple, few ingredients, no fancy gear. All you need is a jar, a whisk or spoon, and a measuring cup.
It’s best to use unpasteurized honey, so the natural yeasts can do the fermentation. But you can also leave it open to the air to catch other yeasts. I bought some honey from a local bee keeper at the farmer’s market and it was easy to find unpasteurized.
The process for mead is simple:
Mix 4 parts water with 1 part honey in a jar.
Stir.
Cover it with a cloth to let natural yeasts in but keep flies out.
Stir twice a day for three to four weeks.
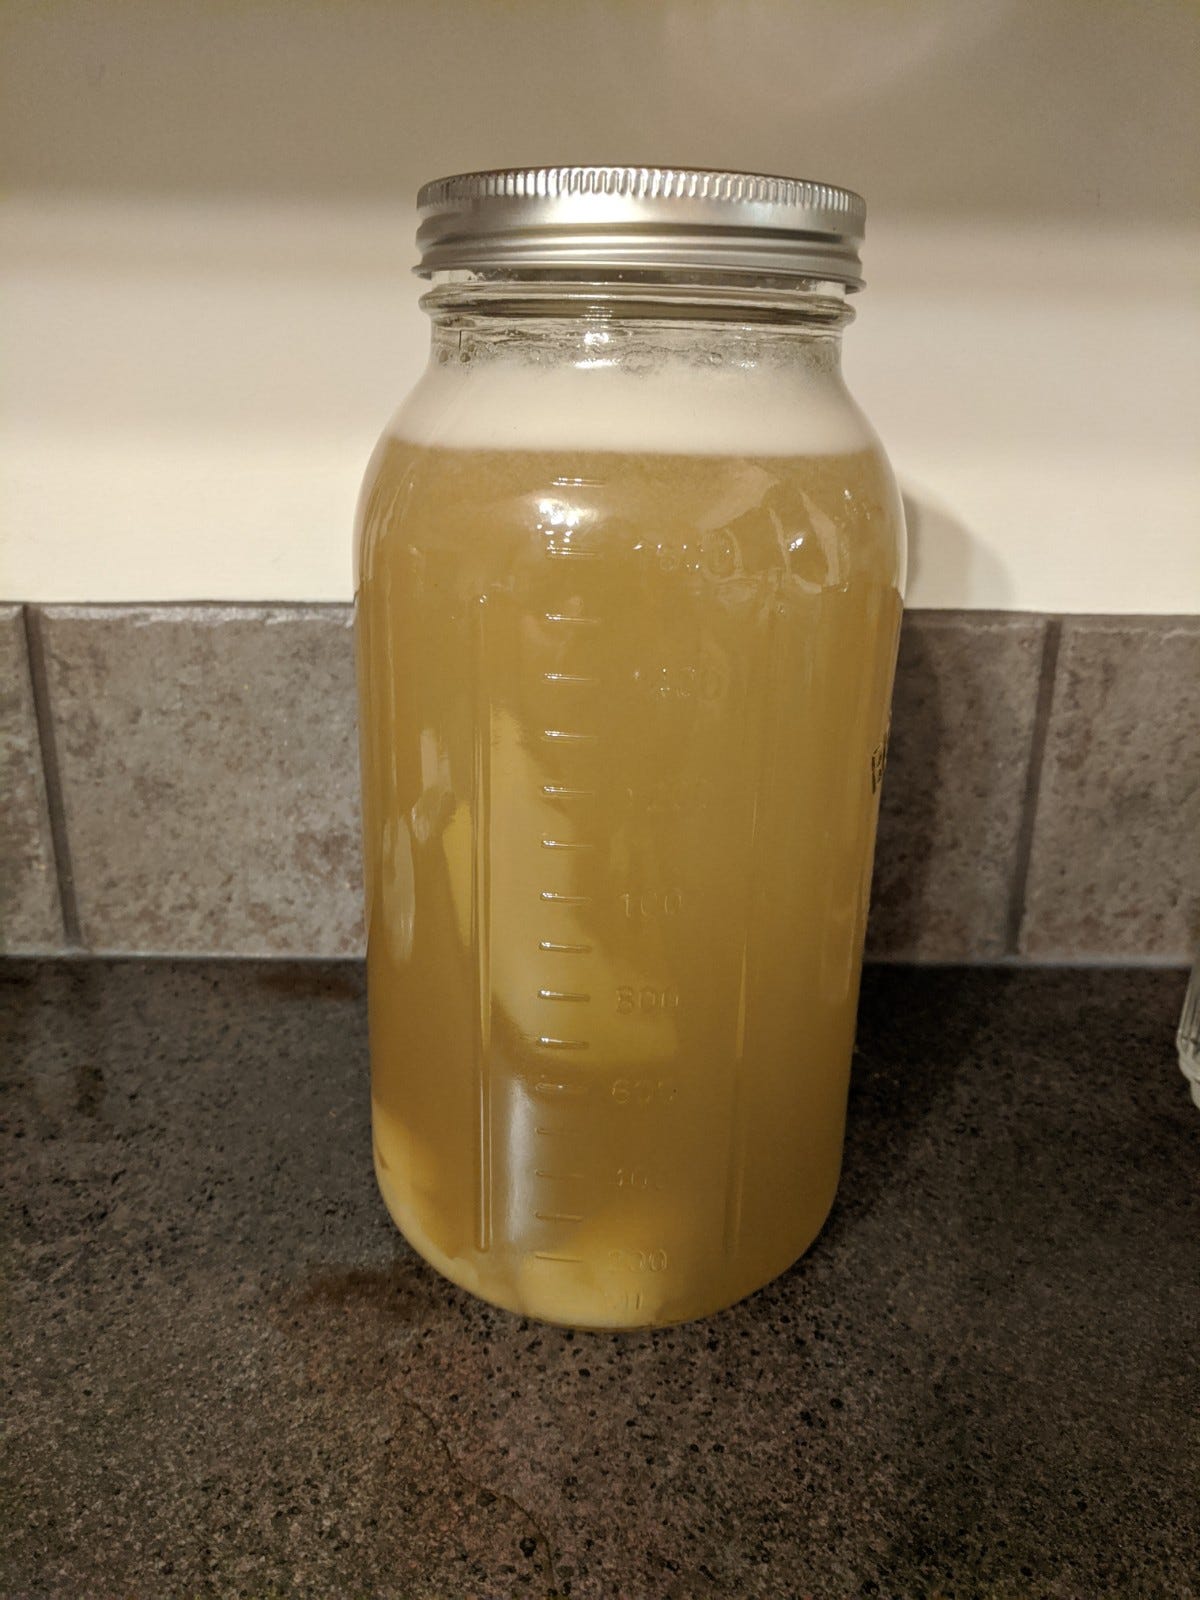
I found this fascinating that you can literally just mix two ingredients into a jar and it will ferment itself into special food. I added some orange juice from two squeezed oranges to help the yeast and add flavour. I did not add whole fruits because I did not want to worry about timing or straining.
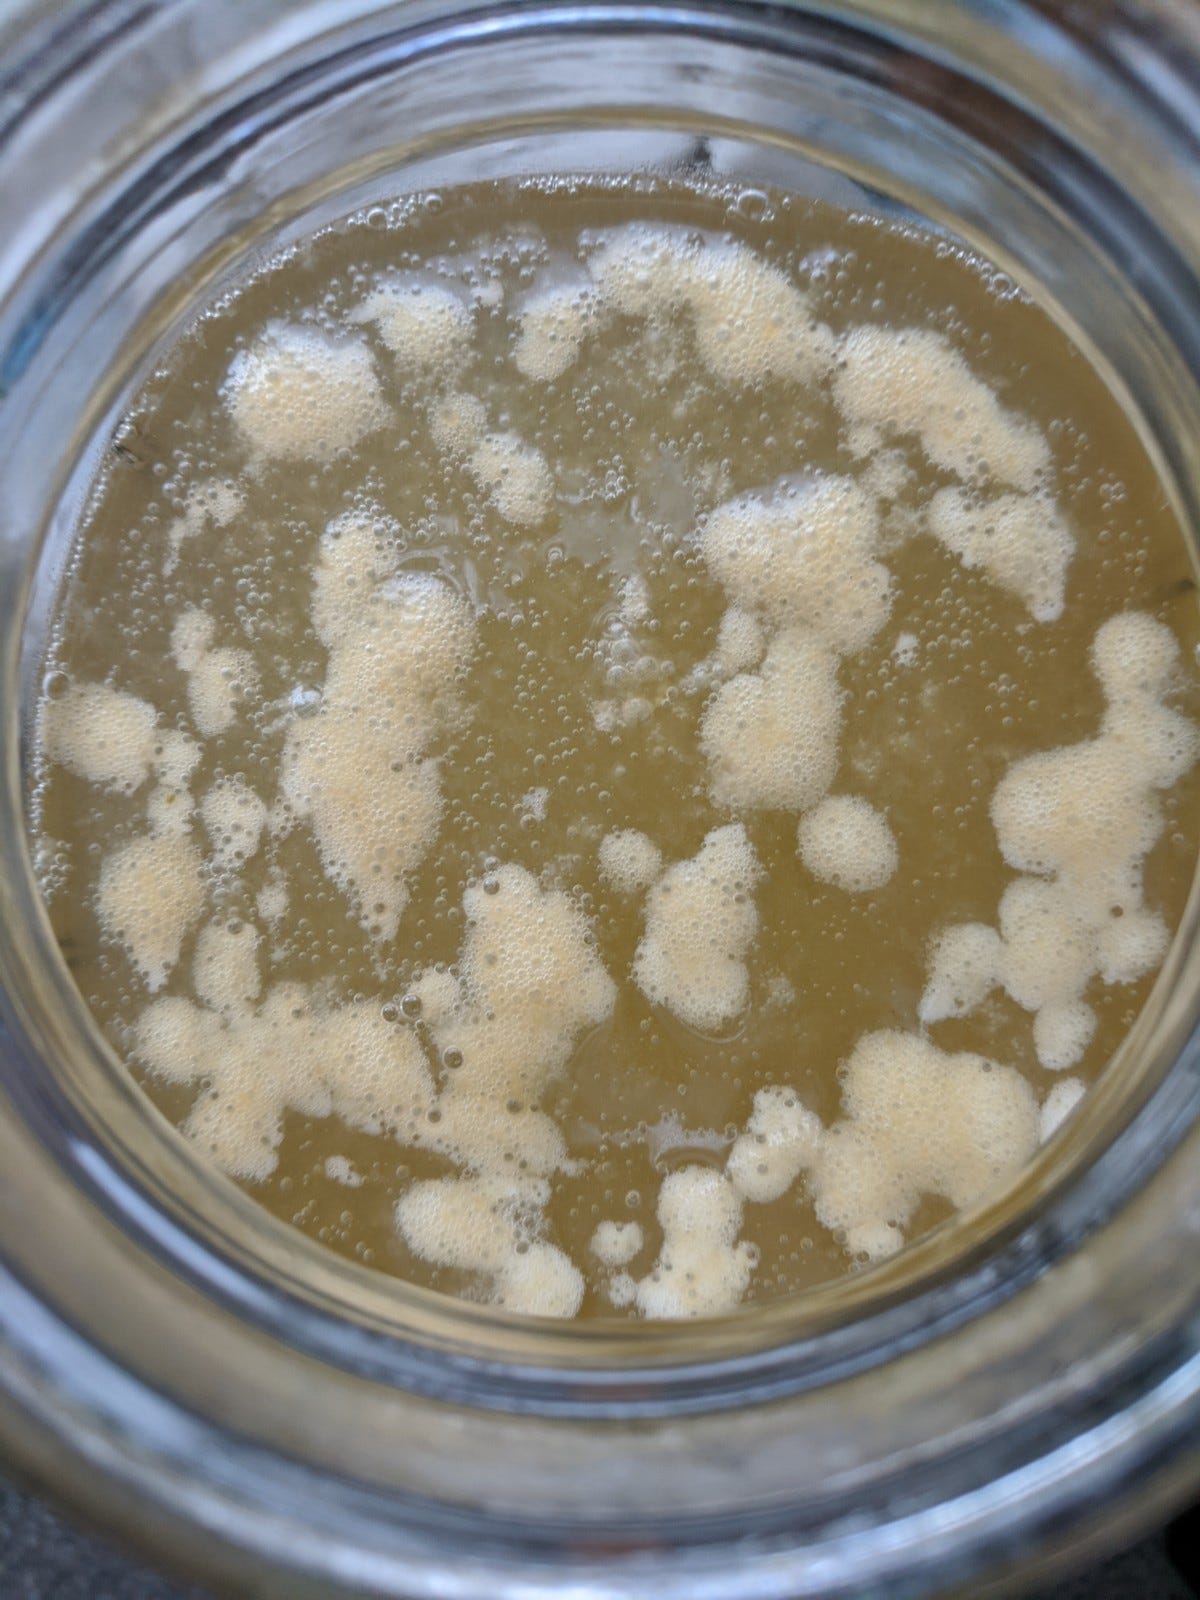
After a few days the mead started bubbling. At first I thought this was mold and that I had ruined the batch. But no! On closer inspection—it was actually healthy fermentation bubbles, and the mead was doing what it’s supposed to. It smells quite fresh and tasty through the whole process.
After four weeks of stirring, the mead turned out great! It was very effervescent with a light, sweet flavour, and quite a strong alcohol content. I would definitely make this again.
I started the mead in mid-November and it was ready to be shared during holiday gatherings. A few family members were *not* interested in trying my homemade food, but several people loved it! So it passed the test of “can you feed this to other people?”.
Mead Pros:
Delicious
Easy
Few ingredients (you can literally use just honey and water)
Easy to add flavours such as fruit (e.g. freshly squeezed orange juice)
Mead Cons:
Need to stir regularly - twice/day
Uses a surprising amount of honey. I may have to visit the farmer’s market more often.
4. Yogurt
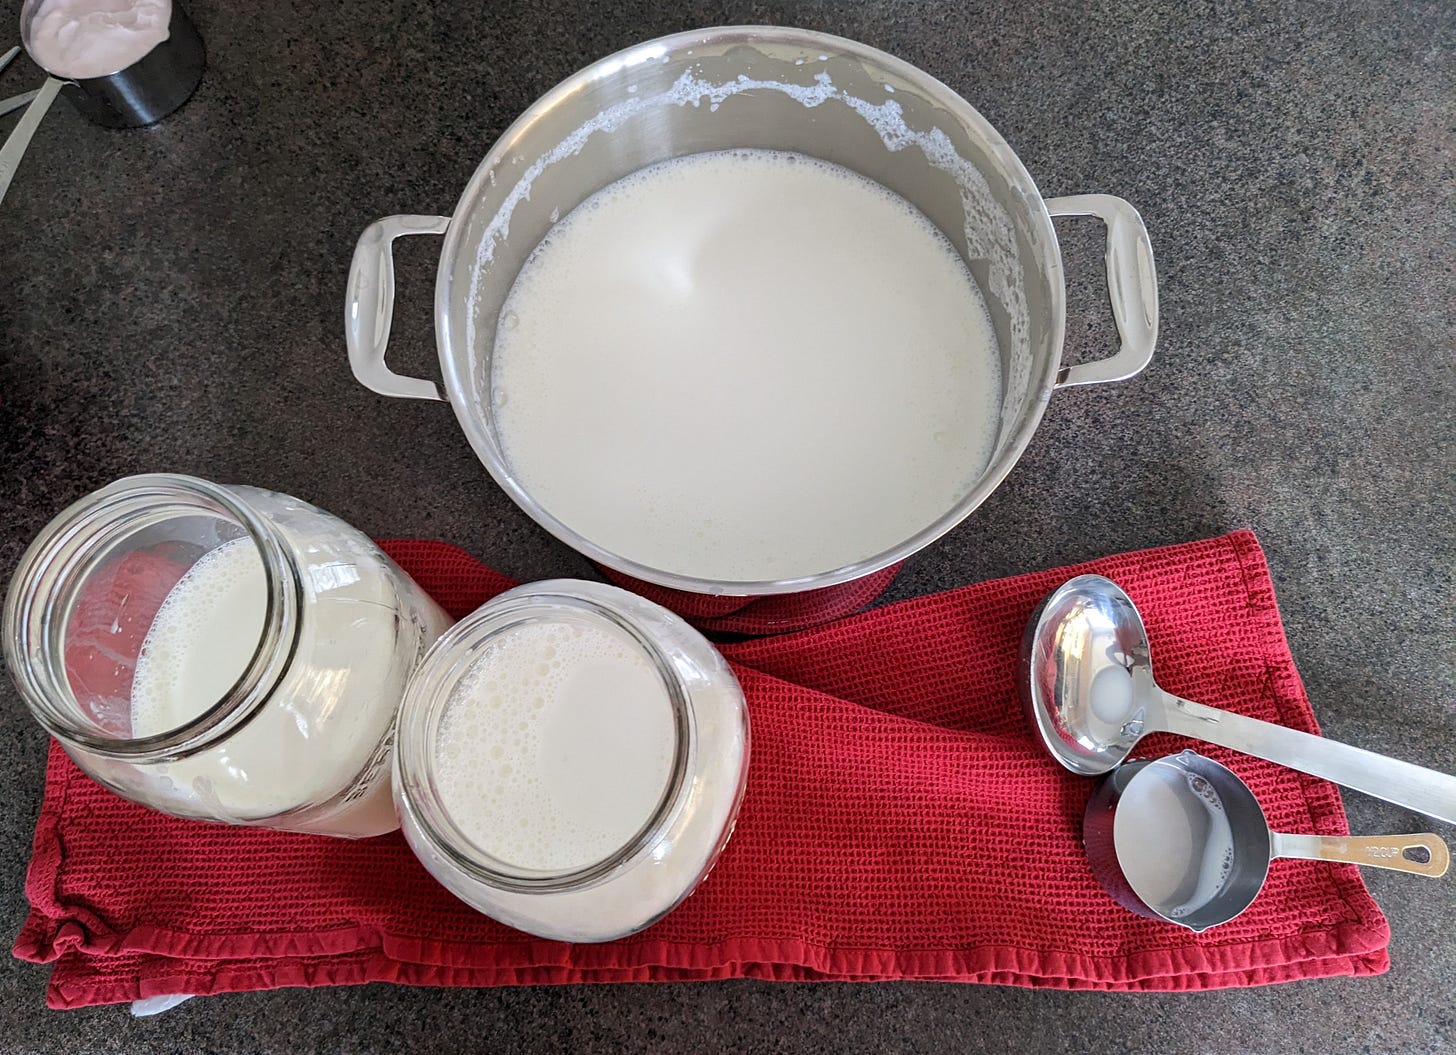
Yogurt was fun because you can see the results right away. Compared to other items that require weeks of waiting, yogurt was done in about 5 hours—1 hour to brew it and 4 hours to set.
The recipe for yogurt is straightforward—heat, cool, and wait:
Get a gallon of whole milk.
Get some store-bought yogurt to use as a starter. Set out one cup to warm to room temperature.
I didn’t have ‘plain’ yogurt to use as a starter, so I used cherry flavour. The cherry flavour disappeared and did not carry over.
Heat the milk. In a big pot, heat to 180°F / 82°C. Heat it gently and stir frequently, so it does not burn.
Katz notes you can hold it at max temperature for 15 minutes to break down more proteins - this gives you a thicker, creamier result.
This is where a cooking or candy thermometer would come in handy. I just used a turkey meat thermometer that I already had. It worked fine.
Cool it back down to 115°F / 46°C.
Pre-warm your jars to the same 115°F / 46°C, using hot water. This is the temperature you’ll ferment at.
Pour the milk into your warmed jars.
Mix in yogurt starter. Add 1 teaspoon / 6mL of store-bought yogurt to your jars per quart/litre of milk. This is your starter. “When adding starter yogurt—less is more. If the yogurt has more room to grow it will be rich, mild, and creamy”.
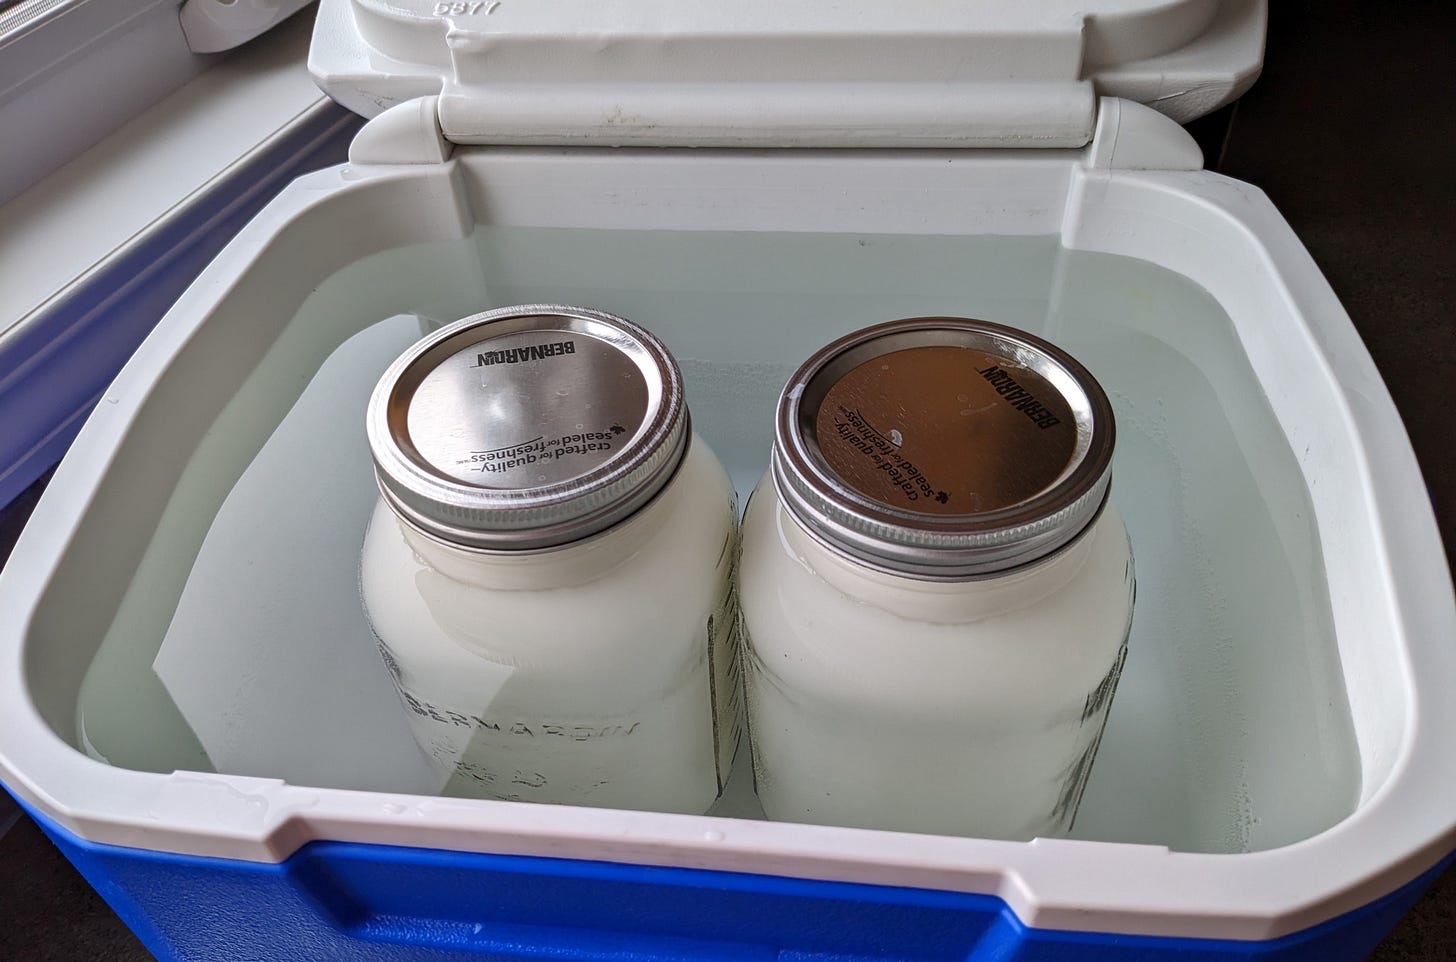
Keep it warm. I used an insulated cooler box, filled with warm water at the same 115°F / 46°C. Check it each hour and add some hot water if needed.
Wait. Ferment for 4 hours and you can be done! You can leave it up to 8 hours to make it thicker, but I found 4 hours to be plenty thick. The longer you leave it the more digestible but tangy and sour-tasting it will become.
When it’s done to your liking—cool it down and stick it in the fridge.
Brewing yogurt on the stove made a great cozy winter activity, because it heats up the kitchen. I’m not sure if I will want to do this often during the heat of summer.
This food won the first award of: actually being eaten by someone who was not me. After taste-testing some my partner looked surprised and said: “Wow… I would actually eat that”. Success!
“Wow… I would actually eat that.” — My partner
Jar size, cooling, and eating
I made my first batch of yogurt in two larger, 2 litre/2 quart jars. This was fine, but took a long time to cool. For the second batch I used four smaller jars. This seemed to help it to cool down faster, slowing the fermentation sooner, and was easier to manage. It’s also easier to scoop food from a smaller jar.
Saves You Money?
Depending on how much you pay for store-bought yogurt and milk - it costs about 80% less to brew your own yogurt vs buying it in the store. This assumes you place no value on your own time, but I was experimenting and learning a new skill so it was fun.
Making this food myself was so successful and enjoyable I may just keep doing it forever. But if brewing yogurt costs 1/5 the price and I start eating 5x as much, who is the real winner?
5. Sourdough Bread
The smell of freshly baked bread is one of my favourite aromas. To be honest I was nervous about making sourdough - it’s the popular, big food that everyone is skilled at making. What if I mess it up?
The answer is: “Who cares, let’s try it anyway”. It was fun.
Make the starter
Katz has a long description of baking with yeast and how to create and maintain a sourdough starter. The starter is simply flour and water that you mix together and leave for a while - another example of great results from simple ingredients. You go through several stages of ‘feeding’ the starter more flour and water, and stirring, until it grows and becomes active and bubbly. “The more frequently a sourdough is used and fed, the vigorous it will be”.
Sourdough Pancakes
Growing my sourdough starter took just over one week. I tested it out by using some excess starter to bake savory sourdough pancakes. They were quite good. I love Katz’ idea of using any ingredients you like in savory pancakes - even cheese or vegetables - or using pancakes to help clean out leftovers from the fridge.
Savory sourdough pancakes went really well with jam—the sweetness of the jam nicely complimented and countered the sourness of the sourdough.
Bake The Bread
Once your starter is ready you can use it to bake bread!
I found Katz’ recipes for bread were not as clear as the other recipes in the book. I had a difficult time following what he said, and getting all of the timing right. In the end I used a different sourdough break recipe that I found online, and wrote out a copy to place inside the book. However it was still a fun learning process.
Baking sourdough is a two-day process:
First you spend a day mixing the dough, and folding, and folding again, letting the dough rest between each step.
Then you let the dough rest overnight. The active, growing sourdough yeast helps it to rise.
On the second day you bake the bread for just under one hour, and set it to cool for an hour or two. This means your house smells like delicious, fresh bread for most of the day.
Katz discusses “getting into a rhythm” and establishing routine for when you use, feed, grow, and restart your sourdough. After completing the cycle just once, I can see how this would be useful and rewarding. Because the bread takes two days—you can plan exactly when you want to eat, and enjoy having your bread ready at the right time, while your house smells amazing.
I was able to bake the bread around lunch time and have it ready for an early afternoon snack! The family loved it.
Sourdough Starters - Your New, Demanding Pet
Long-term, I’m not sure I love the idea of having to regularly care for a needy sourdough ‘pet’. I love eating freshly baked bread. But I already have enough creatures to care for in my house.
Food Awards
So how did things turn out:
🏆 Tastiest: Mead
🟢 Easiest To Make: Yogurt. Fast, no maintenance.
🤝Best For Sharing: Sourdough bread
🦾 Longest Lasting: Sauerkraut. I’ve had several jars in the pantry for months, and it’s still good.
Still To Go
I have several chapters and foods remaining, including:
Sour pickles
Strawberry kvas (fizzy drink, slightly alcoholic)
Dosas
Cheese
Beer
Wine
I’d love to try making fruit wine, but grapes are expensive in my area. I will be scouring the farmer’s market this summer.
You Can Do It!
I’ve had a blast following this book and learning some new skills. Most of the foods taste great. If you’ve ever wanted to try something new or enjoy new foods—give Wild Fermentation a shot.


